Before you start scrolling to the end, yes THIS ALSO WORKS IF YOU WANT TO USE ANOTHER COUNTRY’S STREAMING SERVICE LIBRARY OR ANYTHING LIKE IT. Also for Xcloud, you need a Xbox Game Pass Ultimate Membership, normal Game Pass won’t work. Although it 99.9% won’t happen, if you get banned from the service you’re using, I’m not responsible.
Now that you’ve read the disclaimer, let’s start.
Prerequisites
- A computer or another device, capable of SSH Any Windows, macOS, or Linux device will work.
- An email adress
- 30-45 minutes
First off, you’ll want to head over to the AWS Sign-Up to create an Amazon Web Services Account if you already have an account, sign in as usual.
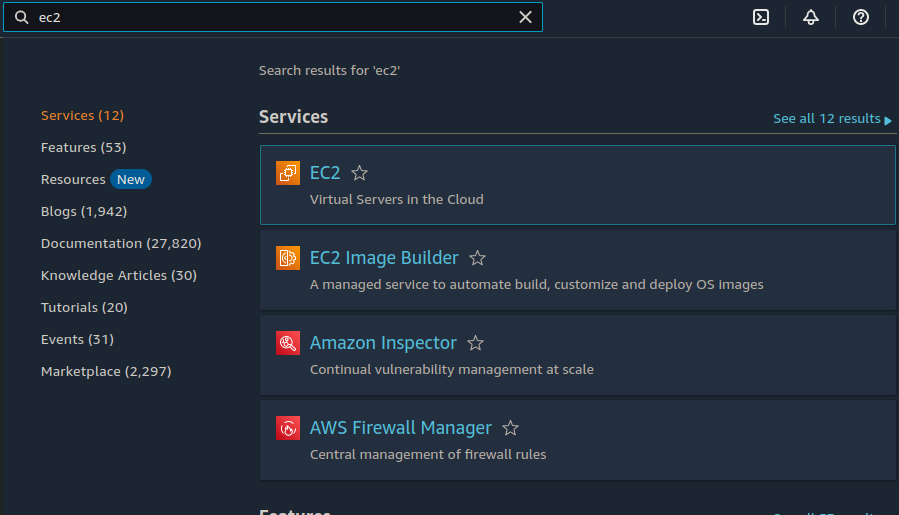
Once you’re in the Console, type EC2 on the search bar and then click the first one.
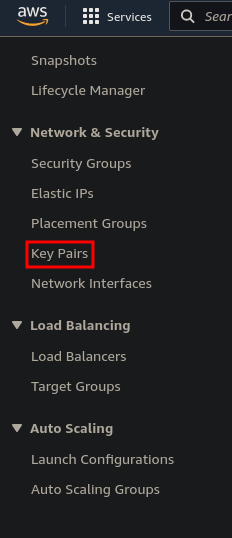
After EC2 opens, from the left sidebar scroll down until you find Key Pairs, and click it.
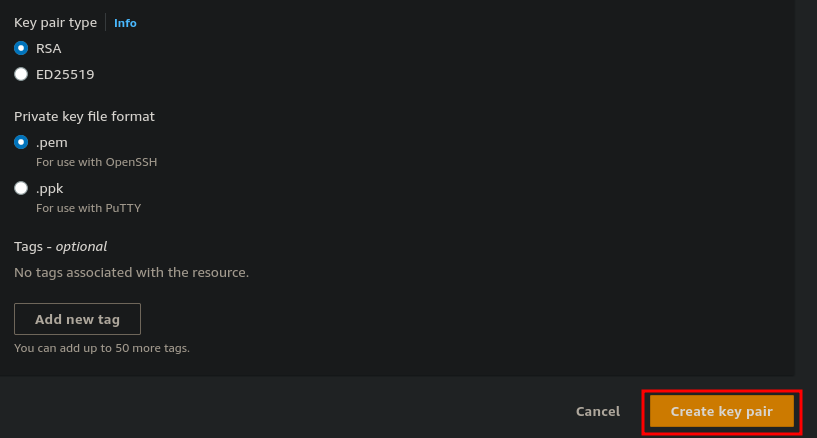
From here select Create Key Pair

Enter a random name, and then click on Create Key Pair
Now to the AWS Marketplace OpenVPN Server Image
Then select Continue to Subscribe and then Continue to Configuration
From here you need to change a few things:
- Region to the closest region to you, this can’t be changed without opening a new instance so choose it wisely
Click on Continue to Launch
From here change:
- EC2 Instance Type: t3.nano
- Security Group Settings, select Create new based on seller settings, give it a name, Save, aand select from the box
- Set the Key Pair to your key pair
Go back to EC2 and than the Instances section, select your instance and choose Connect then SSH client copy the example at the end.
That’s it for the AWS part you can now go close your browser and open an SSH client or terminal (on WIndows type cmd into the Start search open the first app you see, on Mac press cmd and space then type Terminal select the first one you see. On linux it shanges from distro to distro but if you use linux you know how to use an ssh client.) Once opened, move the .pem file you donwloaded to your Desktop and type
cd Desktop && [example you copied eariler]Before pressing Enter, use the arrow keys to delete the word root and replace it with openvpnas
Hit enter
Read the Agreement and if you agree type “yes”
- Type yes for the following 2 prompts:
Should client traffic be routed by default through the VPN?
> Press ENTER for default [no]: yes
Should client DNS traffic be routed by default through the VPN?
> Press ENTER for default [no]: yes
Press enter (don’t hold)until you see the text “initializing OpenVPN”
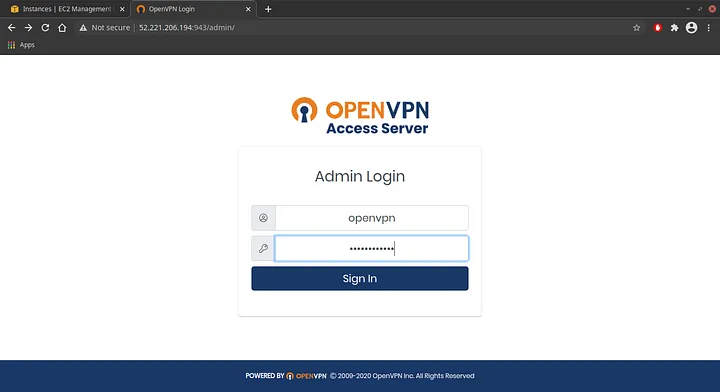
When it gives you the link to your admin page, click on it and log in with the credientals you selected.
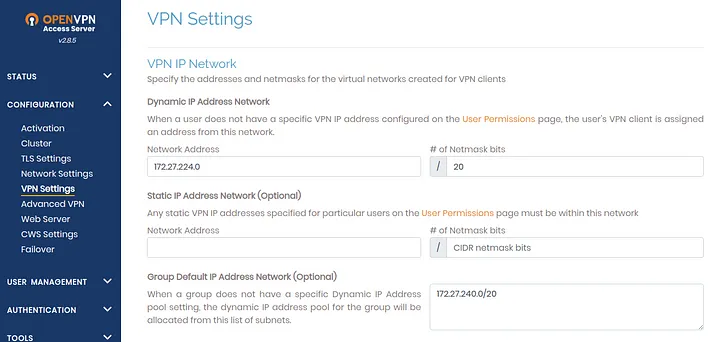
Once in the Admin dashboard of OpenVPN, click configuration and go to “VPN Settings”
- Scroll down and then apply the following changes:
Make sure the toggle for Should client Internet traffic be routed through the VPN? is set to Yes
Change the toggle for Have clients use specific DNS servers to Yes
Enter custom DNS server and set Primary DNS Server to
Now all you have to do is download the OpenVPN client and enjoy the VPN.1.1.1.1(Cloudflare DNS) and the Secondary DNS Server to8.8.8.8
Thank you for reading.